Are you looking for a way to improve the aesthetic of your property? Adding a pond in your yard may be the perfect way to achieve a new look, but how do you build a backyard pond? Let’s find out.
How to Build a Pond in Your Backyard
1. Plan Your Pond
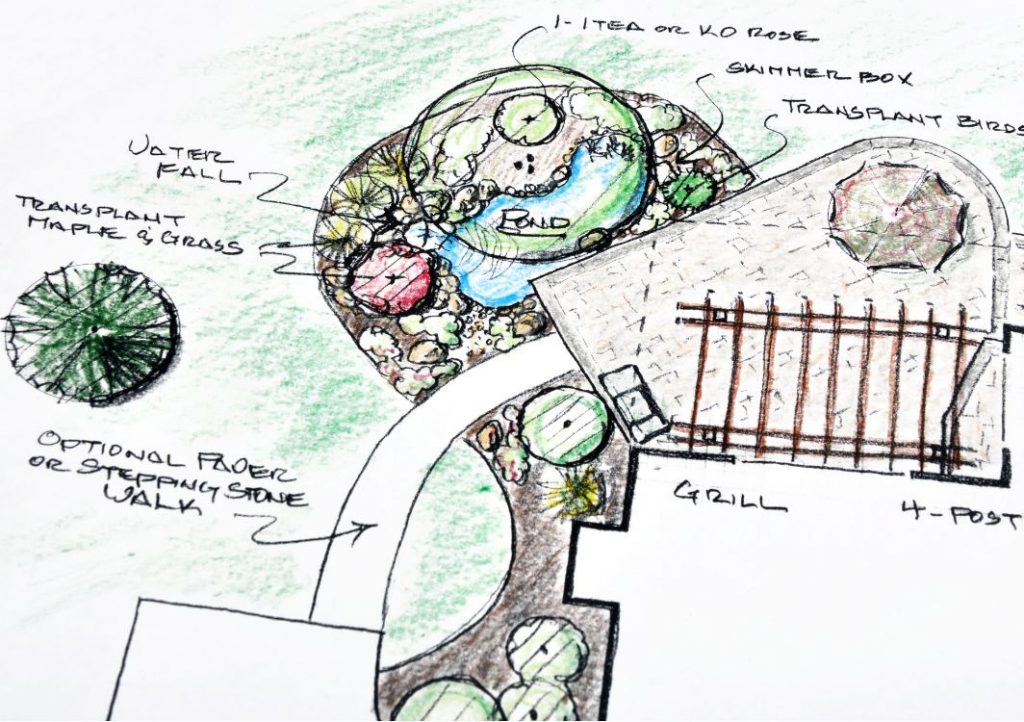
Before installing a pond in your yard, you need to make a detailed plan. Part of this involves determining what type of pond is right for you. You will also need to call your local utility locating service to determine where nearby utility lines are in your yard before attempting any excavation process.
To help you create a complete visualization of your ideal pond, consider the following points:
- Type of Pond
- Water garden
- Koi pond
- Waterfall
- Shape, Size, and Depth of Pond
- Kidney, oval, circular, etc.
- Large ponds are more stable
- Increase depth if planning on adding aquatic animals
- Pond Placement and Flow Direction
- Sun and shade balance
- Away from large trees
- Waterfall or stream features
You will need to consult with an aquatic animal expert for more information about creating an ideal environment for koi fish, aquatic plants, and other additions to your pond.
2. Pond Care Tools and Accessories
Depending on the type of pond you decide to install, you may need some or all of the following items:
- Underlayment material
- Pond liner, available in prefabricated shells, fabrics, and rubber formats
- Water circulation pump to keep water fresh
- Pond skimmer to keep the surface clean
- Filtration systems to remove small contaminants
- Pond treatments to maintain pH levels and appropriate bacterias
3. Excavate the Pond Area
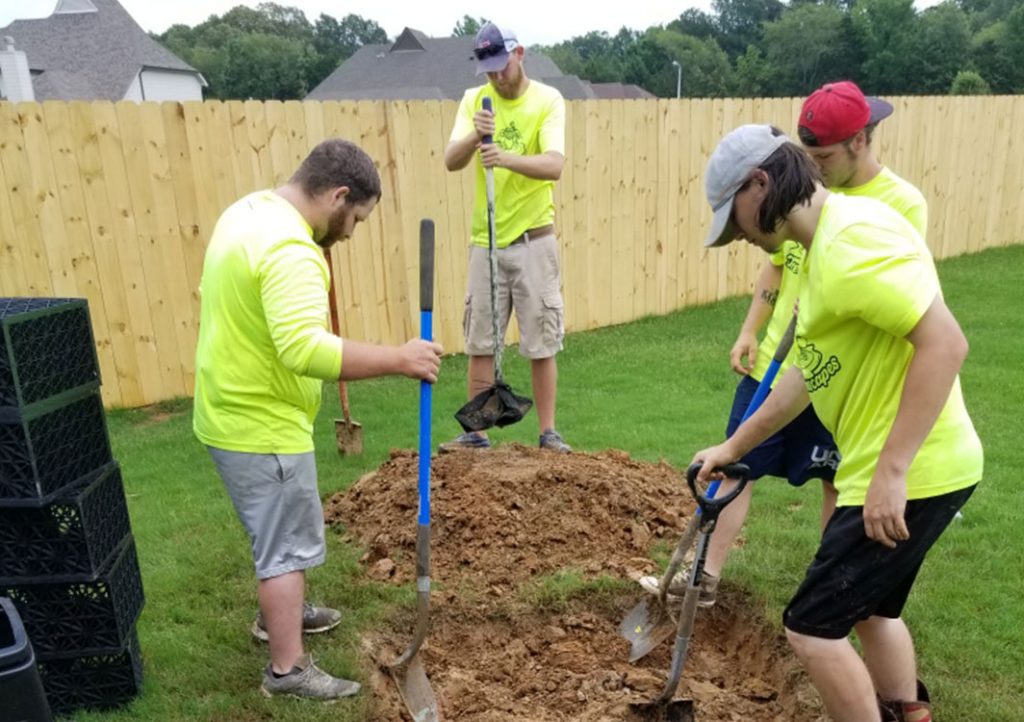
The next step in our how to build a pond guide is to lay out the shape of your pond with a rope or garden hose. This outline will be a visual guideline for when you begin to excavate the pond area.
The outer edge of the pond should be at least six to eight inches deep to create a shelf. The pond’s deepest point is commonly two feet deep to prevent the pond from freezing solid. Ensure that you dig slightly deeper than your final depth to create room for the underlayment and liner.
4. Place Filters, Pumps, and Skimmers
You will need to place any filters, pumps, and skimmers around the sides of the pond. Skimmers need to be about one inch above your intended water line. Pumps will need access to power outlets, so plan your pond layout accordingly.
5. Place Underlayment and Line the Pond
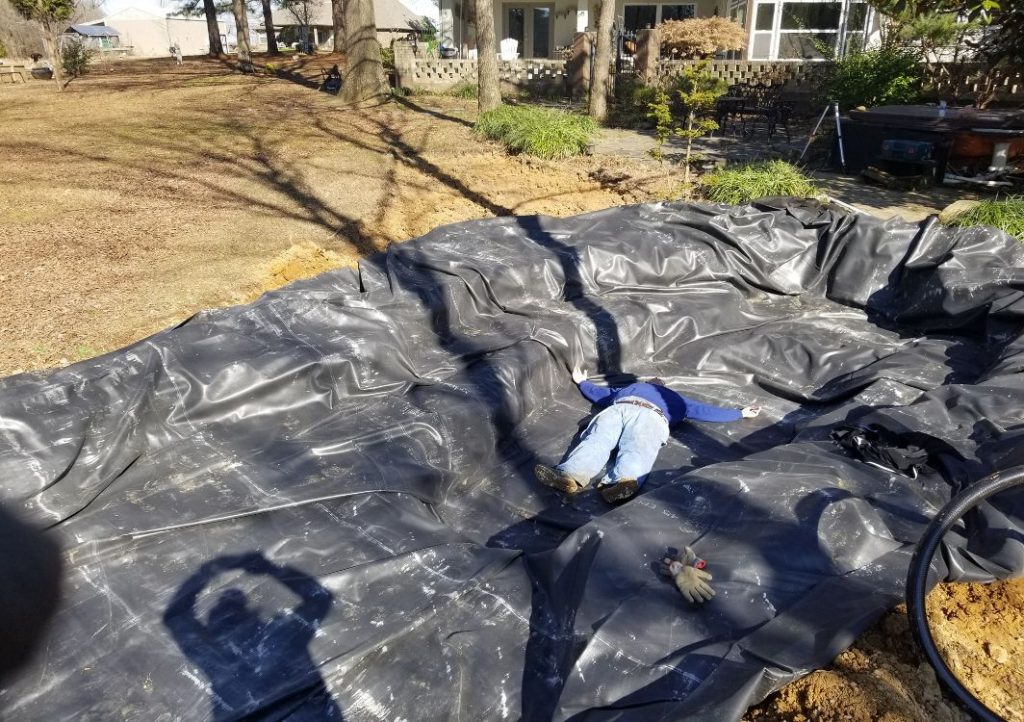
Now you can line the excavated pond area with the underlayment material and the pond liner of your choice. Ensure that the liner is level with the ground surrounding the pool to prevent rainfall from draining into the pond.
6. Excavate Waterfalls and Streams
If your design includes waterfalls or stream features, you can begin to excavate them now. You can use the soil from the excavation to help build support around the waterfall box to improve stability. Ensure that you dig streams slightly broader and deeper to allow for lining materials.
7. Attach Liner to Skimmer and Waterfall Box
The next step in how to build a pond is to attach the liner to your skimmer and waterfall box if your design includes them. Use the appropriate adhesives according to the product instructions. Don’t forget to place the plumbing pipes for these additions—we recommend burying them to maintain the aesthetic of the pond area.
8. Edging the Pond

Now, it is time to work on the edge of the pond. You will begin placing heavy stones or coping around the liner edges to secure the liner in place. This step helps keep the liner in place and provides visual separation from the rest of your yard.
Some pond designs may require you to mortar the stones into place to prevent them from slipping out of position. Mortar may be essential if you know you or your visitors will step or sit on the edge area while enjoying the pond.
You can soften the appearance of the pond edges by using a layering technique that begins on the pond shelf to build the edge upward and outward slowly. Don’t worry if it looks a bit bare at this point—you can fill in any gaps with the following step.
9. Add Gravel and Aquatic Plants
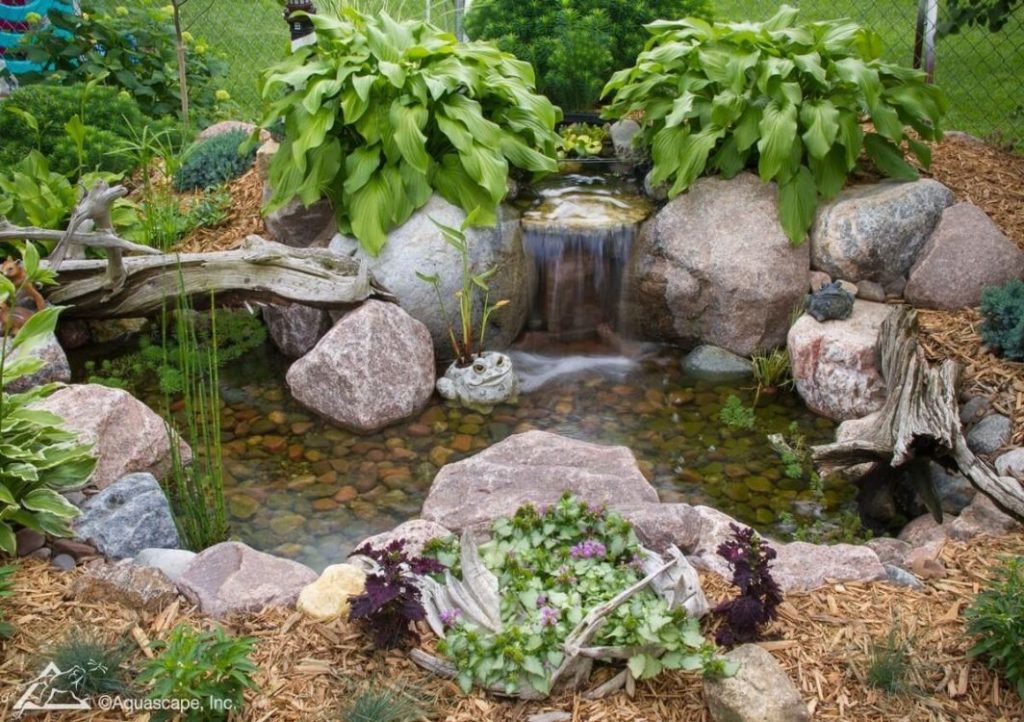
After ensuring the liner edge is snug and secure, you can add smaller stones, gravel, and aquatic plants to blend the pond’s edge into the surrounding environment. If you have a waterfall feature, you will need to apply waterfall foam to guide the water into the pond.
Ensure that the plants you choose are ideal for the sun and shade levels that the pond will endure daily. Some aquatic plants like water lilies can provide shade within the pond to help your fish thrive. Other plants that are fantastic in water can include:
- Bacopa
- Water hyacinth
- Anacharis
- Parrot’s feather
10. Fill With Water and Begin Treating the Water
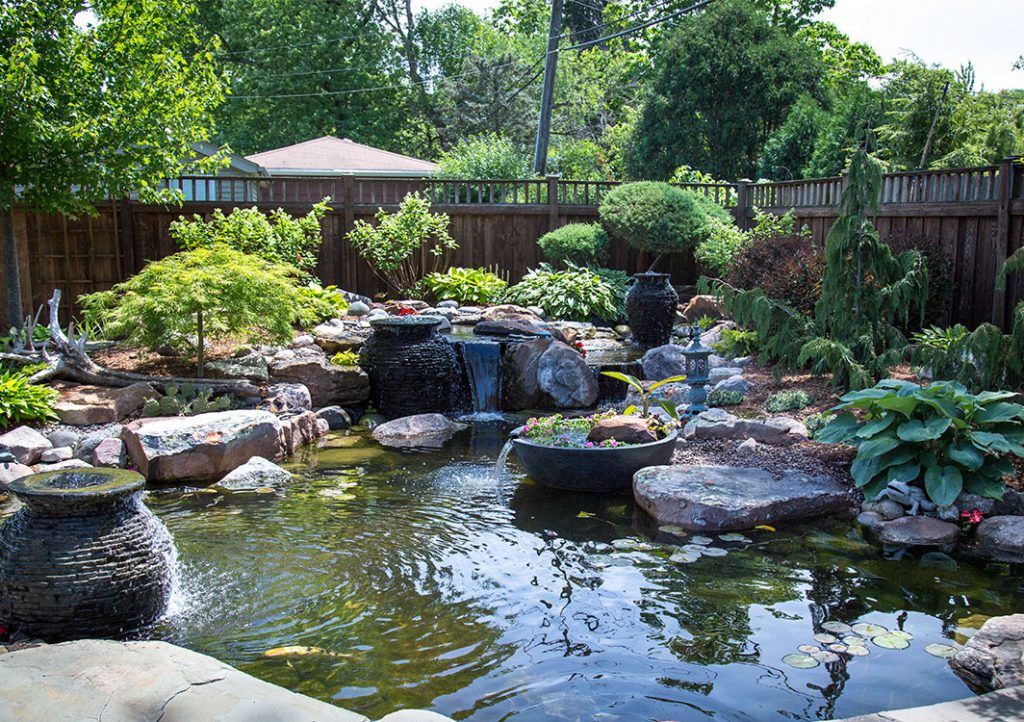
Now you may begin to fill the pond using a garden hose. Carefully monitor the water level to ensure you don’t overfill the pond. After the pond is full, you can begin treating the water with a dechlorinator to remove chlorine and chloramines.
The final step is to regularly treat the pond with packaged pond bacteria to help the new ecosystem thrive. You can now slowly begin to add the fish or other aquatic animals to your pond over the following weeks.
You should note that you can only add a few fish or other animals at a time to prevent overwhelming the bacteria balance. Adding too many at one time can disrupt the stability of the pond.
Contact Midsouth Ponds for Expert Assistance
Midsouth Ponds knows how to build a pond and maintain your pond professionally and quickly for a hassle-free experience. Fill out our contact form today to talk with our pond experts about your water garden and pond goals. We are the only certified aquascape contractor in Memphis, TN.
