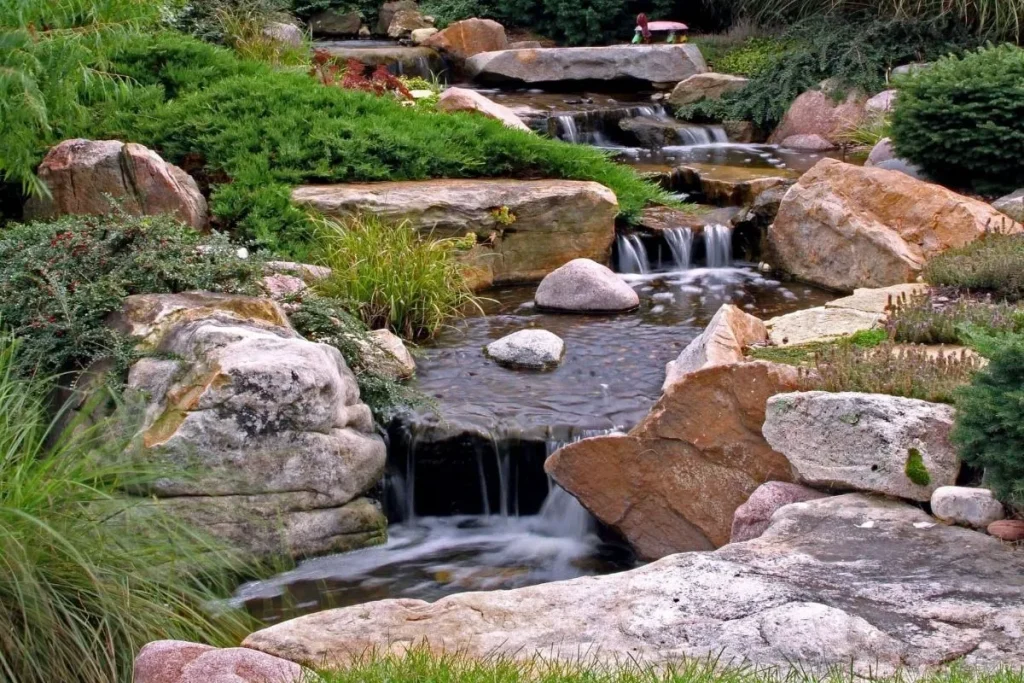
Have you been waiting to build the backyard of your dreams? The good news is that if you’ve been wondering how to build a pondless waterfall and stream to complete that vision, we’ve got you covered.
Pondless waterfalls or streams are the perfect water features for your backyard. There are many benefits you can bring to your home by installing one, such as adding timeless relaxation and beauty to your yard. Pondless waterfalls work in practically any area of your yard, and they’re ideal for families who love spending time outdoors.
Since pondless waterfalls and streams involve a simple recirculation system, the maintenance and installation are relatively minimal compared to other backyard water features.
This is why many homeowners want to install one in their backyard. Some of them, maybe even yourself, want to try their own hand at it to save money or express their creativity.
In light of that, here is one way DIY enthusiasts can go about building their own pondless waterfall and stream.
*Professional water feature installers, such as ourselves, may use a different way to install pondless waterfalls and streams. We just want to give people the information they need if they want to try this process on their own.
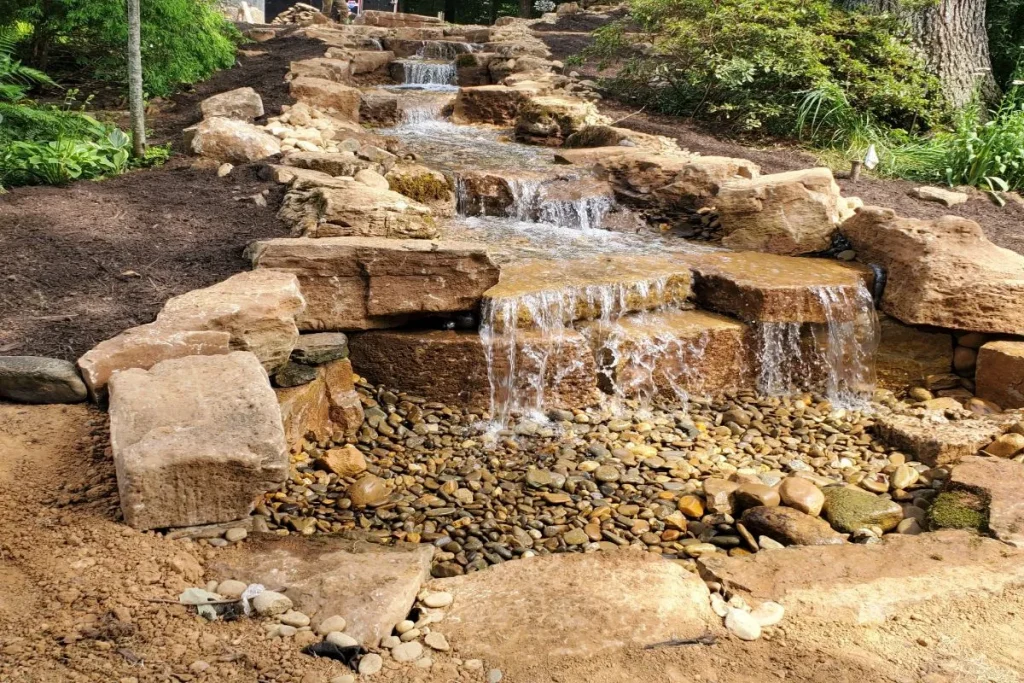
Required Tools:
- Shovel
- Level
- Measuring tape
- Wheelbarrow
- Utility knife
- Gloves
Required Materials:
- Pond liner
- Boulders, stones, and rocks (large, medium, small)
- Pondless waterfall spillway kit (spillway, pump, basin)
- One rock with a flat surface
- Gravel
- Greenery and lights
- Sealant for any pump connections
How To Build A Pondless Waterfall And Stream
1. Gather Your Preferred Stones
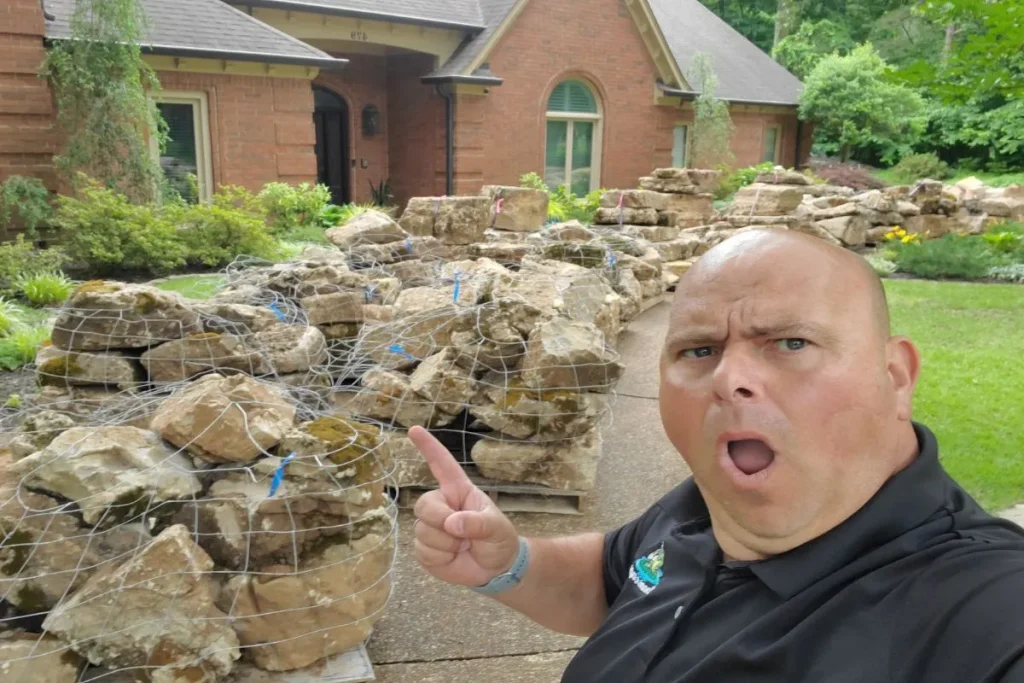
First, you want to gather a variety of stones. These stones must work for the waterfall’s surrounding area, including covering pipes, liners, and edging. Opting for different shapes and sizes ensures your waterfall has a stone that fits in every crevice.
2. Decide on a Location for Your Water Feature
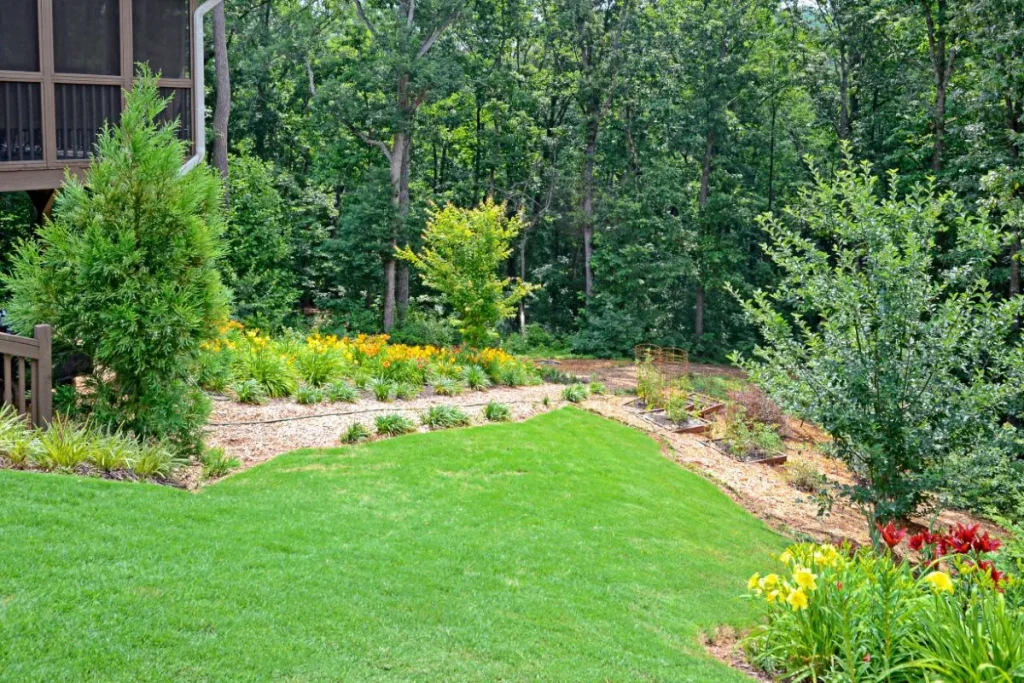
After you’ve gathered your stones, you must choose a spot for your waterfall. Areas with a slope make the overall process easier. You may also want to consider adding the water feature near the areas where you and your loved ones tend to gather. Generally speaking, you want to pick a place that you see frequently.
3. Position Your Waterfall
Next in the process is positioning the waterfall with your desired length, width, and height. All the positioning requirements depend on the size of your basin, which determines the size of your pondless waterfall. By measuring this accurately with a level and measuring tape, you can build a well-functioning waterfall with the correctly sized basin.
4. Clearly Define the Area
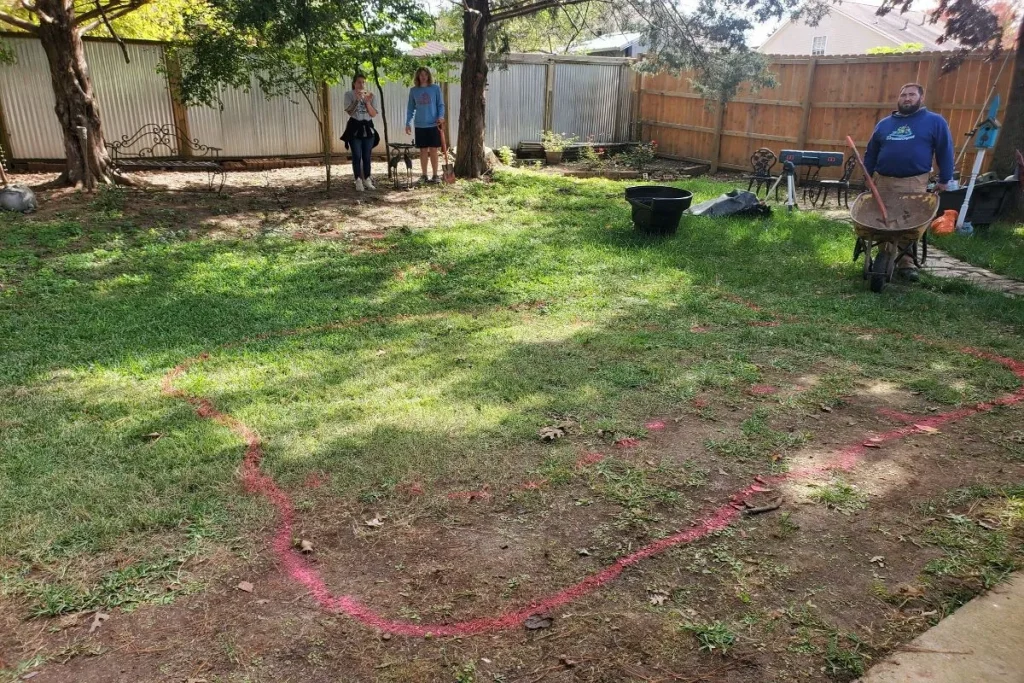
After choosing a level position, it’s time to define the area you’ll be digging up. Do this with flags, stakes, spray paint, or some material that allows you to visualize the exact layout.
5. Excavate the Defined Area
Now that you have a defined area, it’s time to dig it up. Break out the shovel and dig to your required depth. A wheelbarrow is an excellent place to store dirt you’ll use later.
At this point, you may want to outline and slightly dig the stream bed.
6. Ensure the Area Is Level
After digging the area, check once again that the newly dug area is level. This step is vital to ensure your pondless waterfall spillway works appropriately. Use the level to obtain a level base before placing the liner to create a rock waterfall with an equal water level.
7. Put in the Reservoir Basin
Now, you’re going to place the basin in the area you have dug. Once the bay is in place, you’ll need to attach the plumbing and all of the necessary parts that came in your kit.
*Alternatively, let expert installers complete the installation for you instead of trying to learn how to install a pondless waterfall or stream.
8. Fill the Area Around the Reservoir
Use the soil you took away while digging to secure the basin snuggly. Be sure to fill in any gaps around the basin or reservoir before moving on to the next steps.
9. Lay the Underlayment and Liner
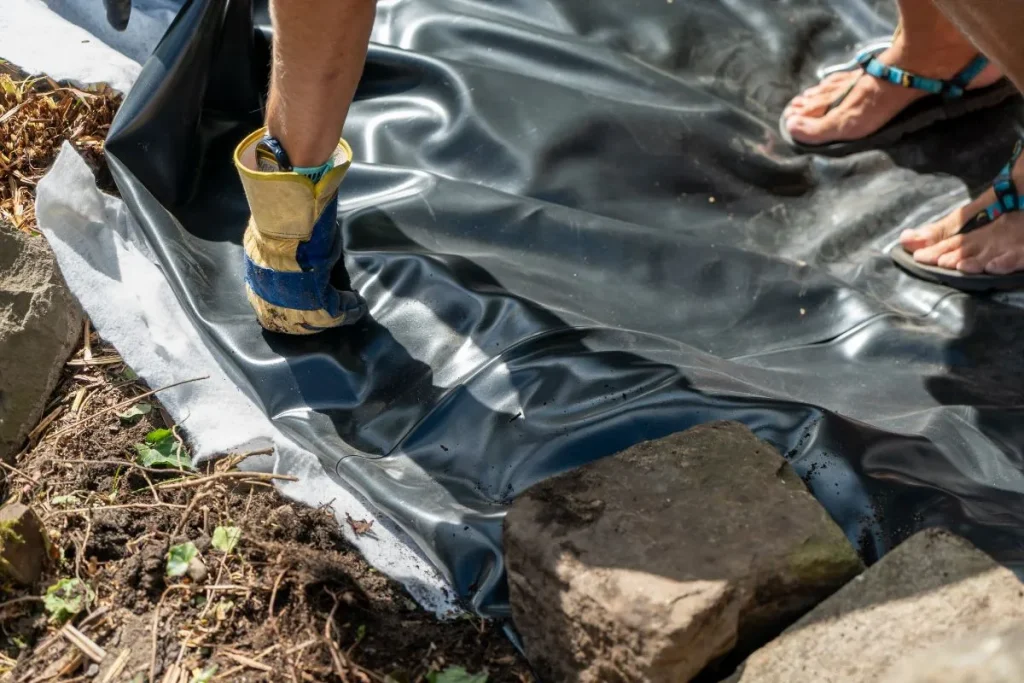
Now that everything is secure, you must lay the underlayment and pond liner. The pond liner should cover the surrounding areas of the reservoir basin plus the space you designated as the stream bed.
Position the pond liner from the basin toward the upper streambed, lining the outline of the waterfall with the liner. Since you’ll put rocks on top, there is no need to secure the liner. Make sure to allow the excess liner to accumulate at the base of the reservoir.
10. Build Up the Waterfall With Rocks
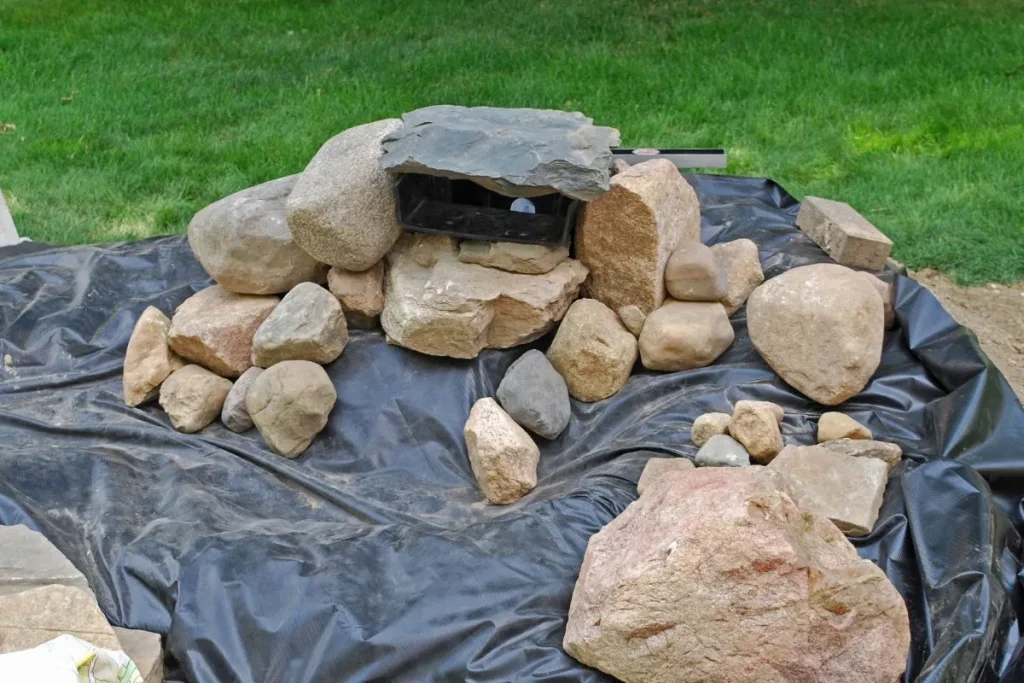
After placing the liner, build up your desired waterfall shape with rocks. Generally speaking, you put smaller stones and gravel inside the streambed and place larger rocks and boulders toward the outside walls for a seamless finish.
11. Consider Optional Lighting
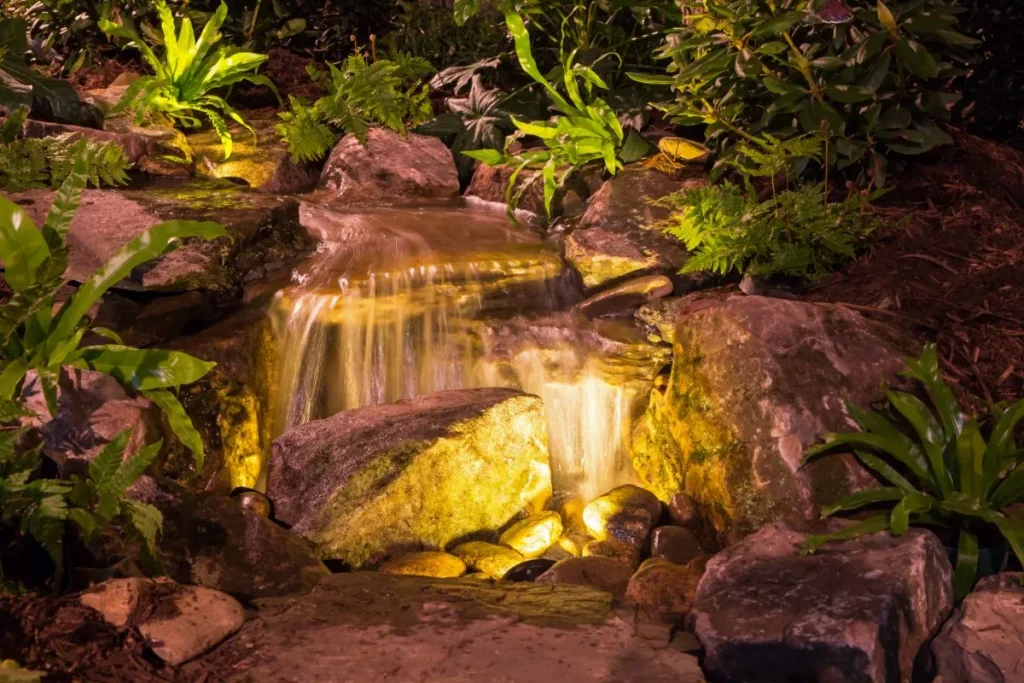
When you build a pondless waterfall, sometimes you want the extra bells and whistles. If this is the case, consider adding pond lighting like solar lights that line the path of your streambed. You can also install underwater lights in the stream and behind waterfalls.
12. Place the Waterfall Spillway in the Designated Spot
The next crucial step is to place your waterfall spillway in its designated spot. The waterfall spillway is the mechanism that replaces and recirculates the water, thus avoiding the need for a pond.
As water comes in, the system’s internal barriers diffuse it. The waterfall spillway allows your stream to flow seamlessly, though it requires a level surface—placing it on a flat rock usually does the trick.
13. Plug in the Pump and Fill the Reservoir

After the spillway, you must attach all pumps and open tubing. Once secure, you can start adding the water. This is where you see if the water falls how you like it and if there are any spots that need adjusting to prevent leaks.
14. Trim Excess Liner
At this point, if you see any excess liner sticking out from rocks or near the base, be sure to trim it off using a utility knife.
15. Adding Plants and Greenery
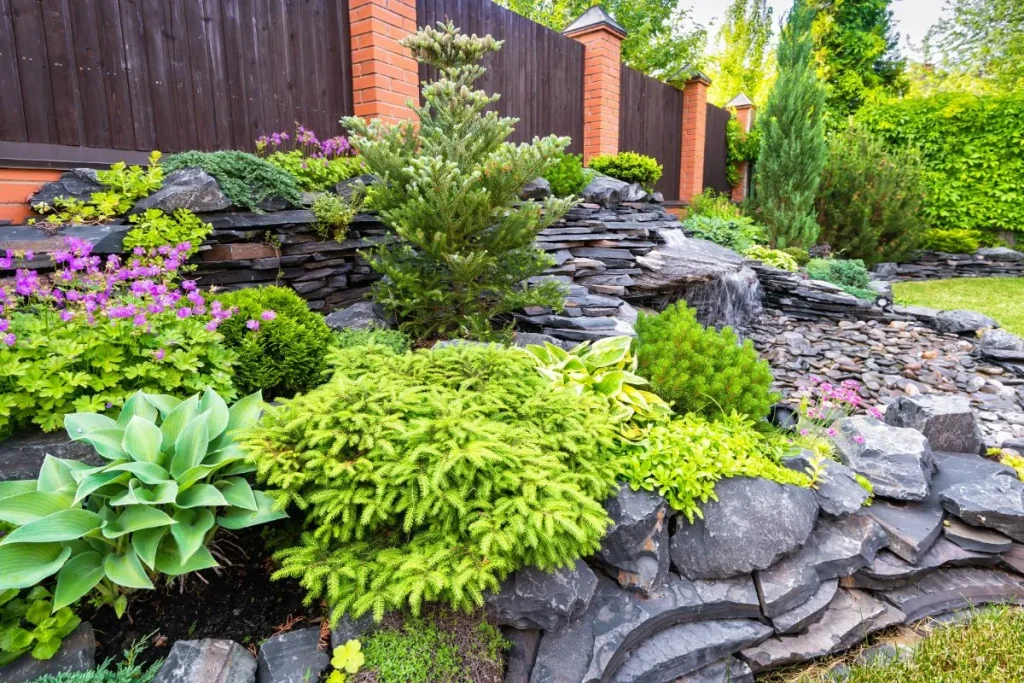
Finally, as your pondless waterfall works, you may want to brainstorm about minor additions. For example, you may add aquatic plants, greenery around the sides, or decorated pots that frame the stream’s path.
Whatever the case, customize your water feature until it feels like an adequate expression of you.
You Can Always Contact Midsouth Ponds For Your Water Feature Needs
If you’d rather have the pros show you how to build a pondless waterfall and stream, then reach out to Midsouth Ponds through our contact form for high-quality water feature services!


