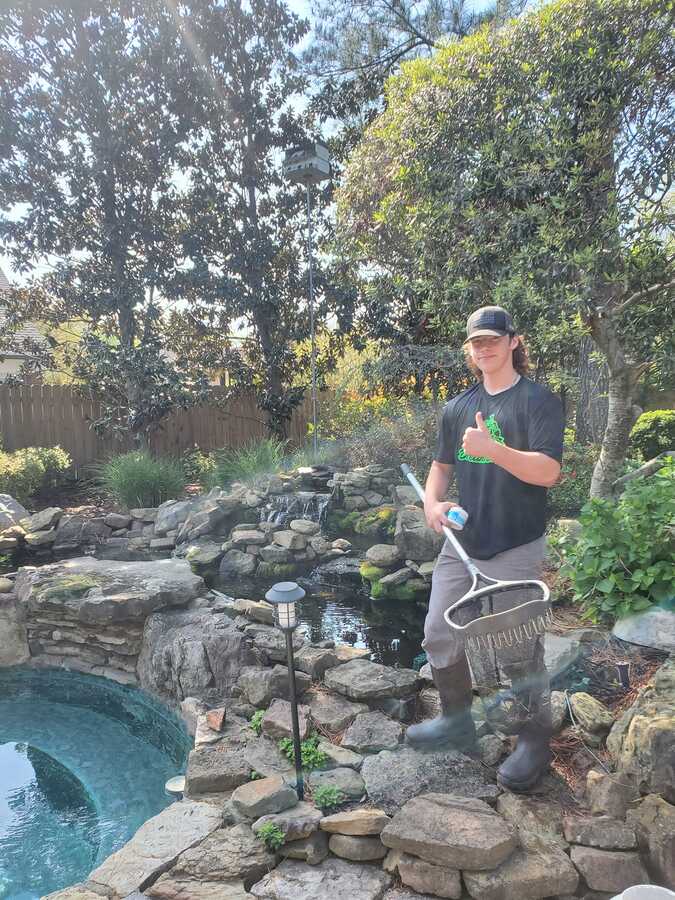
If you are fortunate enough to have a Koi fish pond on your property, then you know how much value they bring to your family. The sight of crystal clear, sparkling water, along with the beautiful fish that inhabit it, can lighten your mood. However, because your Koi pond contains active and living fish, it needs periodic cleaning to keep looking awesome.
Midsouth Ponds in Memphis, TN, can help you learn how to clean a Koi pond. Take excellent care of every aspect of your home pond, stream, or waterfall. Our dedication to customer service extends to giving you advice on how to keep your water installations in top condition.
Keeping your water feature in pristine condition requires monitoring and regular Koi pond maintenance. If these beautiful installations don’t get the attention they need, you’ll soon notice the signs of neglect. These signs can include:
● Strange odors
● Filter clogs
● Mounting levels of debris
● Overgrown plant life (this is more common than most people think)
● Overcrowded living conditions for the fish
● Cloudy water
● Excessive algae blooms
● Equipment failure
This definitive guide should help you learn more about how to clean a Koi pond quickly, properly, and thoroughly.
Pond Cleaning Tool List
● Fish Holding Container w/ Portable Aerator
● Skimmer Net
● Garden Spray Hose
● Pond Vacuum Equipment
● Dechlorination Fluid
● Power Wash Tools
● Plant Trimming Tools
Koi Fish Pond Cleaning Process
1. Pre-Clean the Pond Water

As one of your first steps in the Koi pond cleaning process, you should scour the pond water as best you can. This process is where the skimmer netting comes in very handy. Be careful not to disturb the fish, and slowly use the net to remove leaves and other floating debris from the surface.
If there is debris floating below the surface, and it’s possible to reach it without alarming the fish, then you should take this step as well. Getting rid of easy-to-reach debris will make the rest of the process somewhat easier for you.
2. Drain the Pond Almost Completely
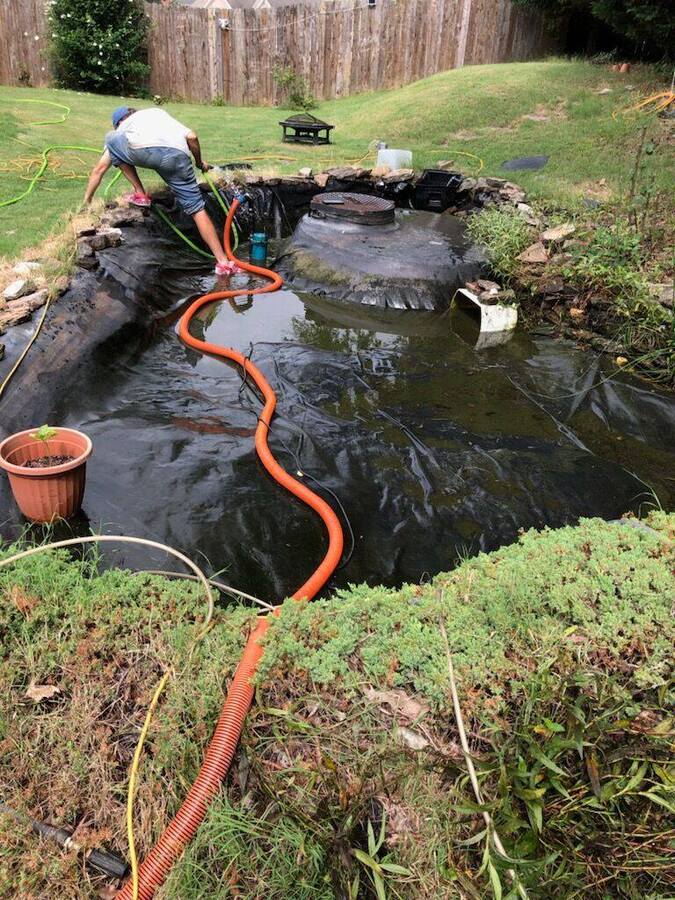
Once you finish with your light cleaning of the water, you should commence with the pond draining operation. If you have an effective and quality pump, it should have a reverse flow setting. You can use this setting to pump the water out of the pond.
As you remove the water from the pond, ensure that you save a little bit of it in the large container that you procured earlier in the process. Do it conscientiously because this is water you will place your fish in as you perform your deeper cleaning duties. Make sure that the water in this container is only pond water.
Taking this precaution is key because chlorinated tap water is often detrimental to Koi fish’s health.
3. Carefully Remove and Transfer Koi Fish
Keep pumping out the water until there are about 18 inches left in the bottom portion of your pond. Draining the water to this level will make it easier for you to use nets to remove the Koi fish individually from your pond. To remove the fish, use a soft net that won’t damage their scales or bodies.
Try to remove them one by one and carefully place them into the container with the excess pond water.
A pro tip is to set up the container for the Koi fish in a cool, dry area prior to pumping water into it because otherwise, it is very heavy to move! Doing this will help to keep the fish comfortable during the potentially long cleaning process.
4. Finish Draining Pond and Remove Accessories
Once the fish are safely in their holding pen, you can now complete the draining process. Pump to drain the water as completely as possible or until you see the bottom of the pond. Once the water is out, you can disconnect or remove any accessories and machinery in the pond.
These could include things like pumps, filter mats, and other items. Moving these accessories is essential because they need to be cleaned themselves!
5. Allow the Empty Pond to Dry a Bit
You should plan your draining process to evacuate the water by midday. Doing so allows the sun’s heat to slowly dry the interior of the Koi pond for an hour or two. Letting it dry this way makes it simpler to remove debris and other unwanted material.
Here at Midsouth ponds, we actually skip this step because we use industrial-strength cleaning equipment allowing us to perform the remaining steps without having to let the pond dry.
6. Alternate Vacuuming and Power Washing to Remove Debris

Now that the interior of the Koi pond is ready, you can use your vacuum and your power washer.
You’re going to begin by using your pressure washer. You can use its powerful stream to hit the base, walls, and nooks of your pond. As you remove loose material, you can use a vacuum to pick it up.
7. Replace Koi Pond Accessories
After you finish with the power washing and vacuuming step, it’s time to put back the accessories you removed earlier. Make sure that any power connections for pumps are undamaged and securely fastened as you do this.
8. Refill Pond Area and add Dechlorination Fluid
At this point in the process, you can use a simple garden hose to partially refill your Koi pond. Take this opportunity to add some dechlorination fluid to the water. Doing so will make life much easier for your Koi fish when you return them to their home.
9. Return Koi to Their Pond
Once there is some water and dechlorination fluid available, you can start returning the Koi fish to their habitat. Before you do so, you may want to splash a bit of the dechlorinated water into their holding pen. This can partially condition them for the water they will soon return to.
If you carefully follow this Midsouth Ponds guide on how to clean a Koi pond, you’ll be ready to enjoy your water feature!
For information about pond care, installation, or anything else you need, fill out a form on our contact page to get started.


